There are many ways to upgrade your database to 23ai or 26ai. You can use the OCI Console, OCI command-line tools, and AutoUpgrade.
AutoUpgrade is heavily used by Exadata on-premises customers, and you can also use this powerful tool on OCI.
Why should I use AutoUpgrade?
- Better diagnosability
- Better logs
- Ability to continue after fixing an error
- Ability to restore a failed attempt
- Ability to convert from non-cdb to PDB
- Ability to schedule the migration
In this post, I will cover the Refreshable Clone PDBs.
One thing to point out is you can use the same steps if you are on Oracle Exadata Database Service on Cloud@Customer (ExaCC).
What you can do:
- Upgrade previous versions to Oracle Database 19c
- Upgrade from Oracle Database 19c to 23ai or 26ai
- Convert the database from non-cdb to a PDB
- On-premises or in the Cloud
Please check this blog post if you have an Oracle Base Database Service and plan to use AutoUpgrade.
Why use Refreshable Clone PDBs?
They serve as a reliable fallback option since the source database remains unchanged. Additionally, when performing a conversion to a multitenant architecture, your fallback options are quite limited.
The process of converting to a multitenant architecture differs significantly from a standard database upgrade in terms of rollback options. Typically, during an upgrade, Flashback Database serves as the primary rollback mechanism. However, this option is not available for multitenant conversion.
When you plug a non-CDB into a CDB, the CDB modifies the data file headers. These changes are irreversible, permanently preventing the data files from being used in a non-CDB environment. Even Flashback Database cannot undo these modifications.
First Step
Remember to always download the latest AutoUpgrade version from MOS.
There is also a new option: Download AutoUpgrade directly from oracle.com
How To
1 – In the source Database non-CDB or PDB, create a user:
create user dblinkuser identified by ... ;
grant create session, create pluggable database, select_catalog_role to dblinkuser;
grant read on sys.enc$ to dblinkuser;
In case you are moving from a PDB, create a common user on the root container:
create user c##dblinkuser identified by ...;
grant create session, create pluggable database, select_catalog_role to c##dblinkuser CONTAINER=ALL;
grant read on sys.enc$ to c##dblinkuser CONTAINER=ALL;
Don’t forget to use CONTAINER=ALL or you will get:
ORA-17628: Oracle error 1031 returned by remote Oracle server
ORA-01031: insufficient privileges
2 – Create a database link on the target database (23ai or 26ai) connecting to the source database:
create database link clonepdb connect to dblinkuser identified by ... using 'source-db-alias';In case you are moving from a PDB:
create database link clonepdb connect to c##dblinkuser identified by ... using 'source-db-alias';If you face issues with the database link, please check the parameter global_names.
3 – Create an AutoUpgrade config file (Sample for NON-CDB to PDB):
global.autoupg_log_dir=/u02/AutoUpgrade
global.keystore=/u02/keystore
upg1.source_home=/u01/app/oracle/product/19
upg1.target_home=/u01/app/oracle/product/23
upg1.sid=NONCDB1
upg1.target_cdb=CDB1
upg1.source_dblink.NONCDB1=CLONEPDB 600
upg1.target_pdb_name.NONCDB1=PDB1
upg1.start_time=26/11/2024 06:30:00
Sample for PDB to PDB:
global.autoupg_log_dir=/u02/AutoUpgrade
global.keystore=/u02/keystore
upg1.source_home=/u01/app/oracle/product/19
upg1.target_home=/u01/app/oracle/product/23
upg1.sid=CDB1
upg1.pdbs=pdb1
upg1.target_cdb=CDB2
upg1.target_pdb_name.pdb1=pdbn1
upg1.target_pdb_copy_option.pdb1=file_name_convert=('pdb1', 'pdbn1')
upg1.source_dblink.pdb1=CLONEPDB 600
upg1.start_time=+3h
If you need more details about the parameters, check it here.
4 – Start AutoUpgrade in analyze mode on the source system:
java -jar autoupgrade.jar -mode analyze -config myfile.cfgIf you are using different servers (source vs target) and you don’t have a 23ai/26ai home on the source, remember to add the parameter upg1.target_version=23 or 26 to your config file, or you will get: AutoUpgrade could not derive the target_version for database X using target ORACLE_HOME provided.
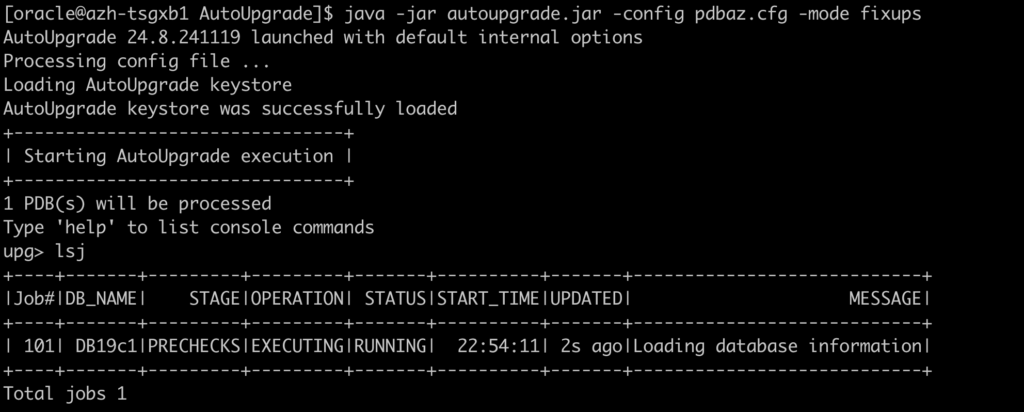
5 – Run AutoUpgrade in fixups mode on the source system:
java -jar autoupgrade.jar -mode fixups -config myfile.cfg6 – Run AutoUpgrade in deploy mode:
java -jar autoupgrade.jar -mode deploy -config myfile.cfgStep by Step – 19c PDB to 23ai PDB (also works for 26ai)
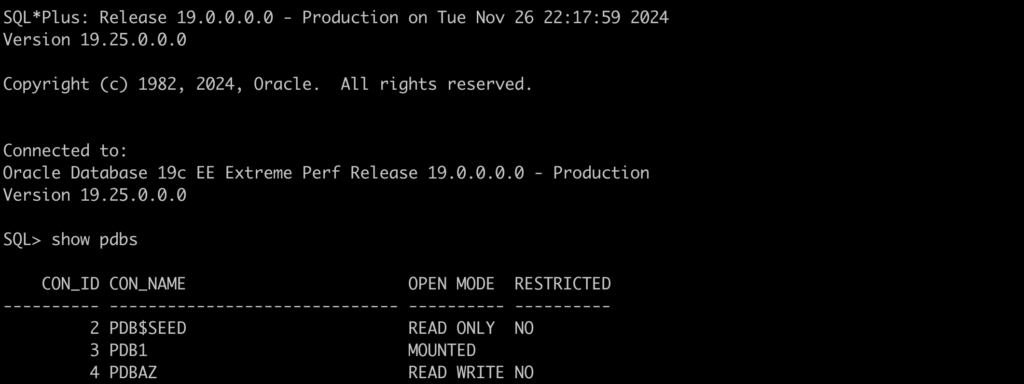
Let’s create a user on the CDB$Root with the right privileges:

Let’s create the database link on 23ai pointing to the 19c:

Let’s create an AutoUpgrade config file:

Let’s check the AutoUpgrade version:

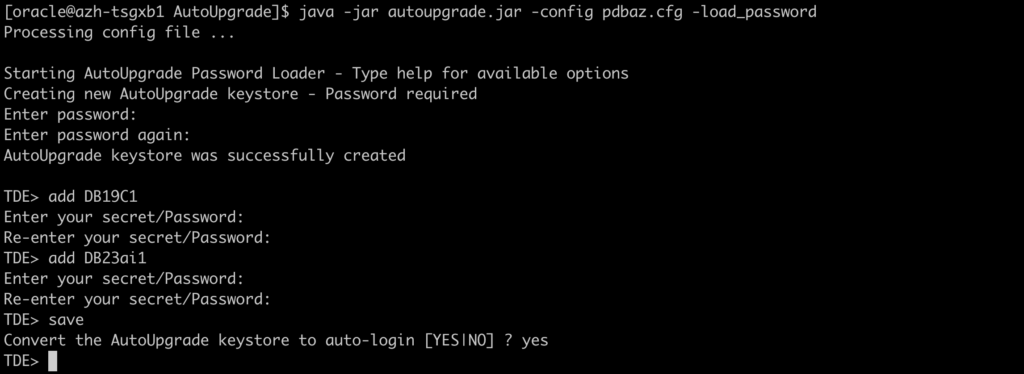
Let’s load the TDE encryption password for both databases:
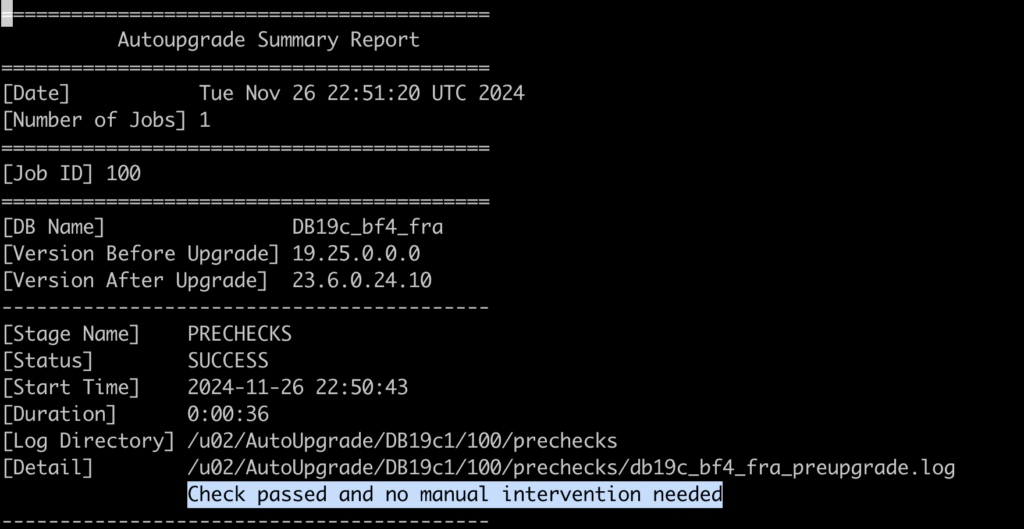
Let’s run the Analyze mode:
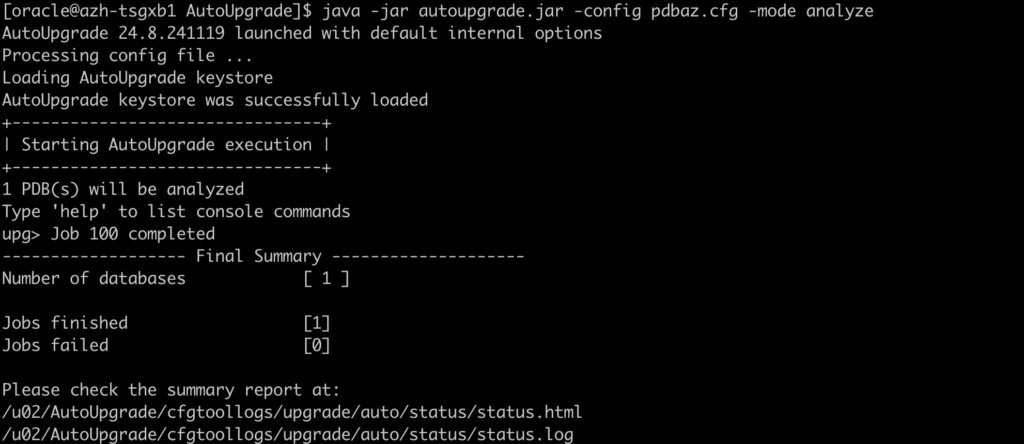
As you can see, for this test, no manual steps are needed:
Let’s run the Fixups:
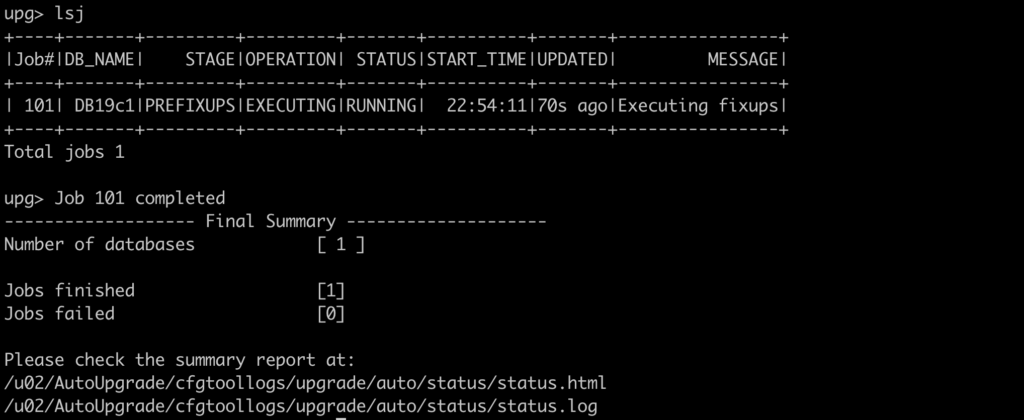
Let’s run the Deploy mode to start the migration:

There are a few ways to see the progress of the Upgrade:

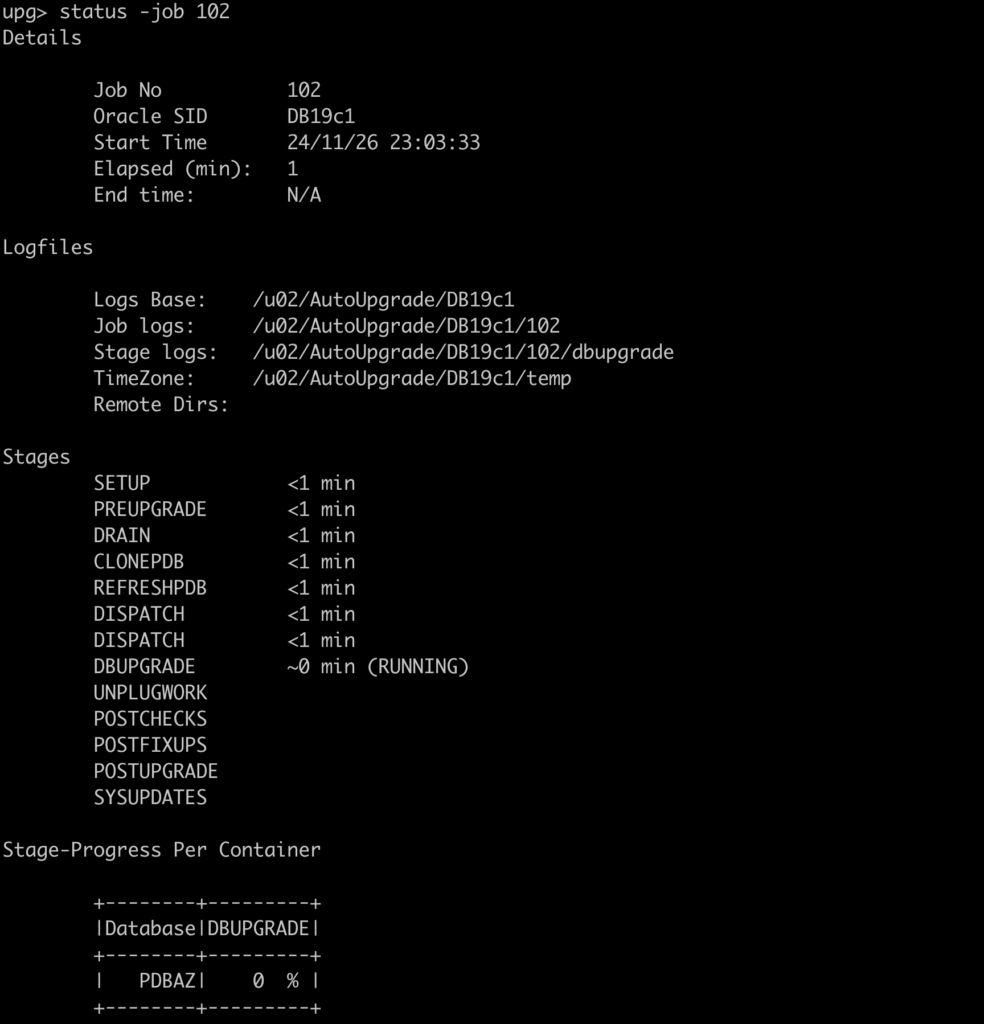

As you can see below, the migration from 19c to 23ai was a success:
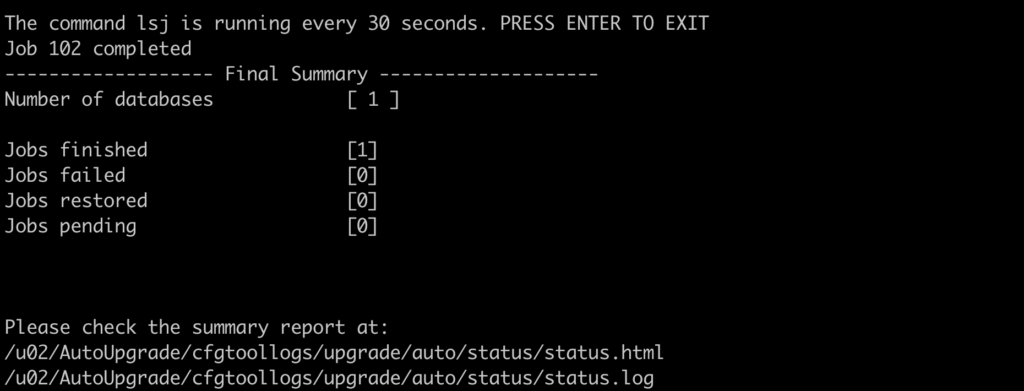
You have now the PDBAZ plugged in and running on the 23ai CDB:
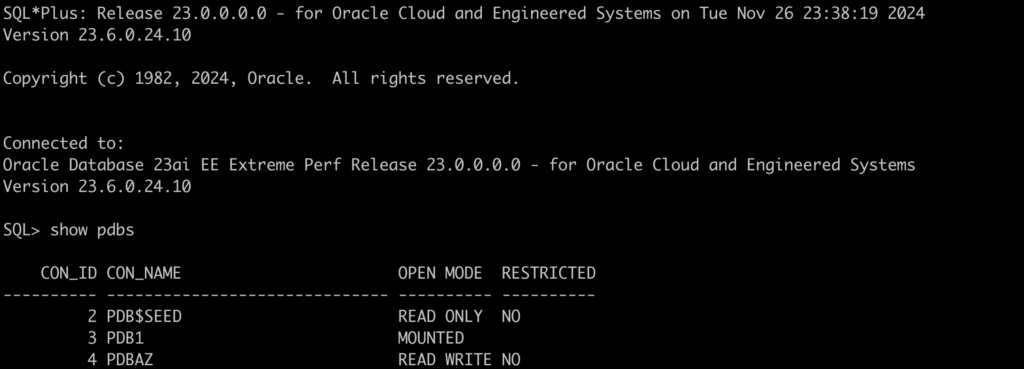
Remember, you can keep refreshing the PDB Clone until you define the migration start time by adding this parameter:
upg1.start_time=26/11/2024 06:30:00Here you can get more details about it.
Or you can use the proceed command to start the upgrade:
proceed -job <jobId>Will the console recognize the new PDB?
And the answer is: Yes
It took a few hours, but it’s there now:

Stay tuned for the next post.
Links to the Complete Blog Post Series on AutoUpgrade for ExaDB-D/ExaC@C:
