In case you missed the previous post:
Part 1 – Refreshable Clone PDBs
This post will cover the traditional upgrade from a non-cdb 19c to 23ai pdb (also works for 26ai).
You can also use the same approach to upgrade from 19c pdb to 23ai or 26ai.
Why should I use AutoUpgrade?
- Better diagnosability
- Better logs
- Ability to continue after fixing an error
- Ability to restore a failed attempt
- Ability to convert from non-cdb to PDB
- Ability to schedule the migration
One thing to point out is you can use the same steps if you are on Oracle Exadata Database Service on Cloud@Customer (ExaCC).
What you can do:
- Upgrade previous versions to Oracle Database 19c
- Upgrade from Oracle Database 19c to 23ai or 26ai
- Convert the database from non-cdb to a PDB
First Step
Remember to always download the latest AutoUpgrade version from MOS.
There is also a new option: Download AutoUpgrade directly from oracle.com
Checking the environment
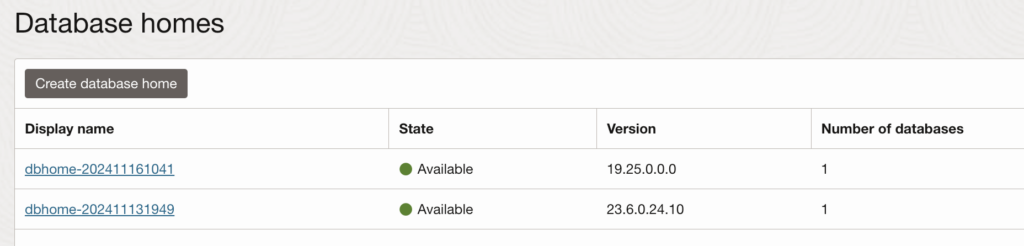
I have two database homes in my Exadata, one 19c and another one 23ai:
There are 2 databases created using these 2 database homes:
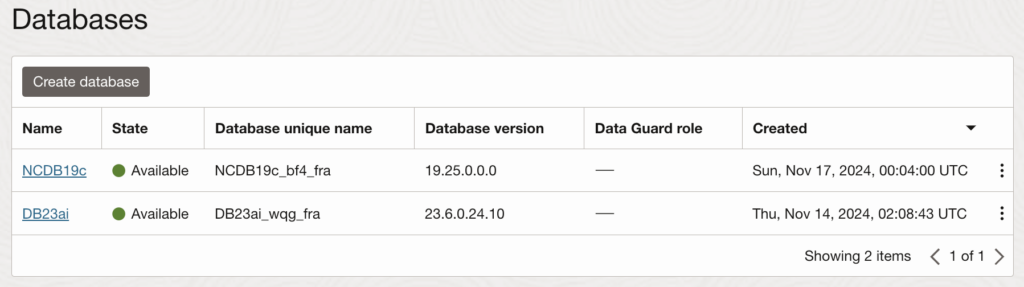
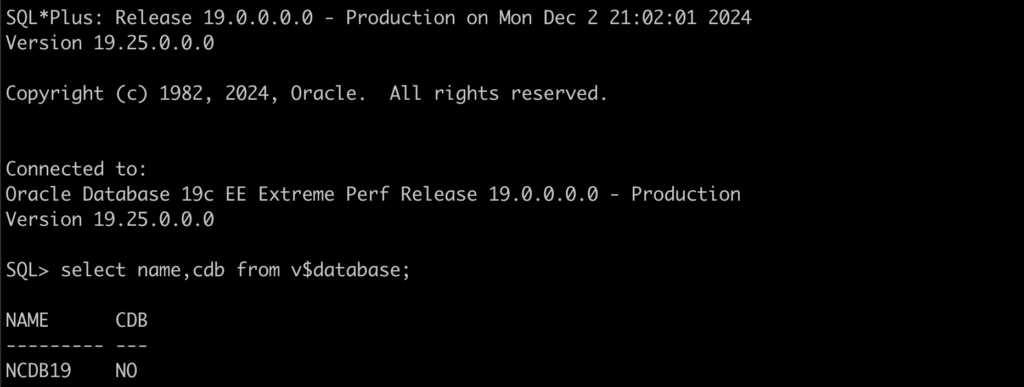
As you can see, I have a non-cdb 19c database:
You can check this blog post if you need to create a non-cdb 19c on ExaCS or ExaCC.
Step by Step – 19c to 23ai or 26ai
Let’s check the AutoUpgrade version:
java -jar autoupgrade.jar -version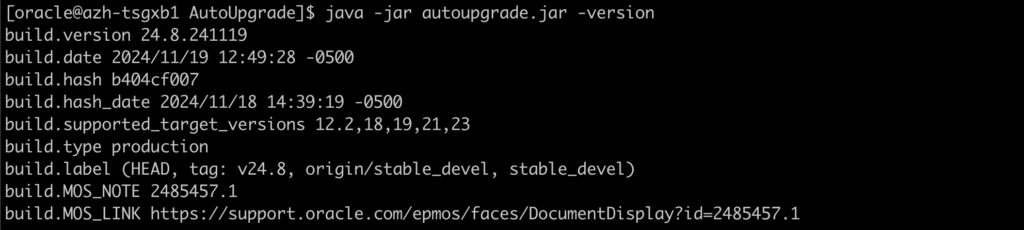
Let’s create an AutoUpgrade config file:
global.autoupg_log_dir=/u02/AutoUpgrade
global.keystore=/u02/keystore
upg1.source_home=/u02/app/oracle/product/19.0.0.0/dbhome_1
upg1.target_home=/u02/app/oracle/product/23.0.0.0/dbhome_1
upg1.sid=NCDB191
upg1.target_cdb=DB23ai1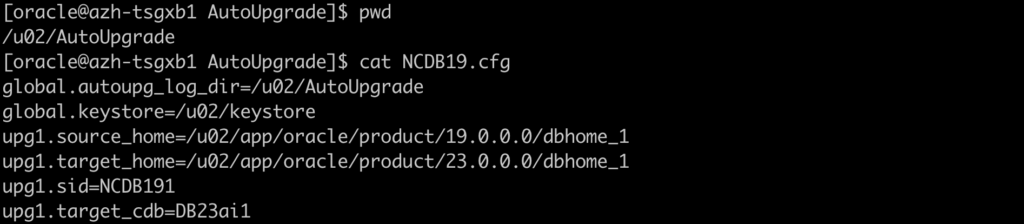
Let’s load the TDE encryption password for both databases:
java -jar autoupgrade.jar -config NCDB19.cfg -load_password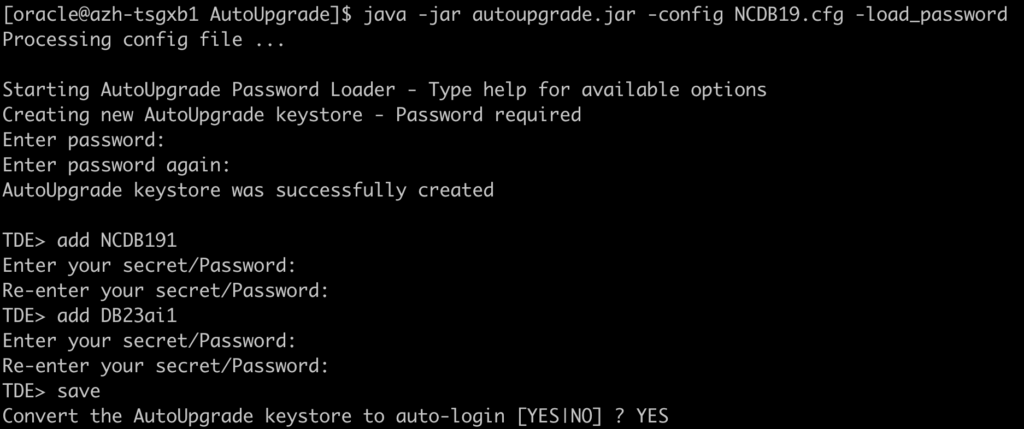
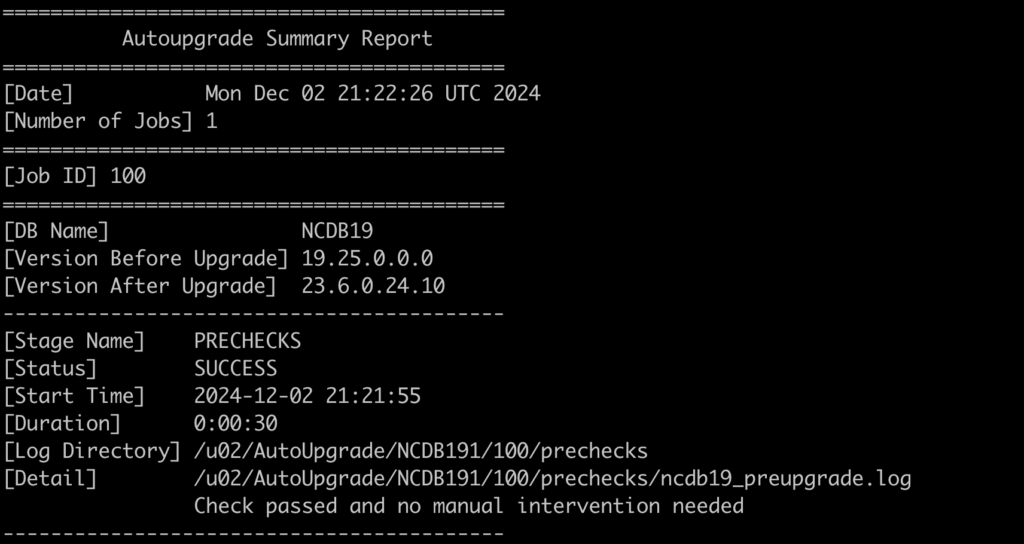
Let’s run the Analyze mode:
java -jar autoupgrade.jar -config NCDB19.cfg -mode analyze
As you can see, for this test, no manual steps are needed:
Let’s run the Deploy mode to start the migration:
java -jar autoupgrade.jar -config NCDB19.cfg -mode deploy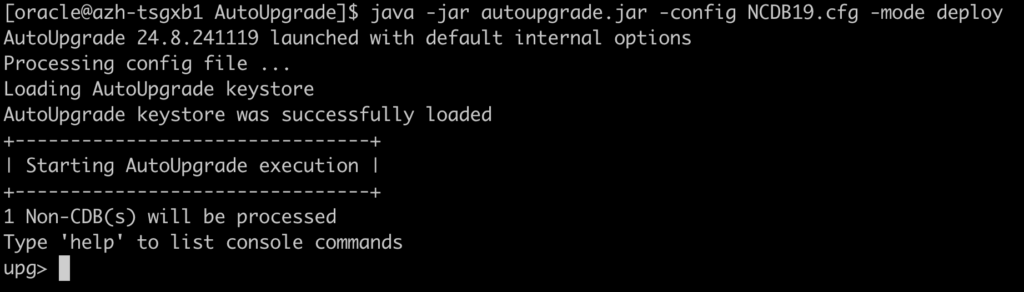
There are a few ways to see the progress of the Upgrade:

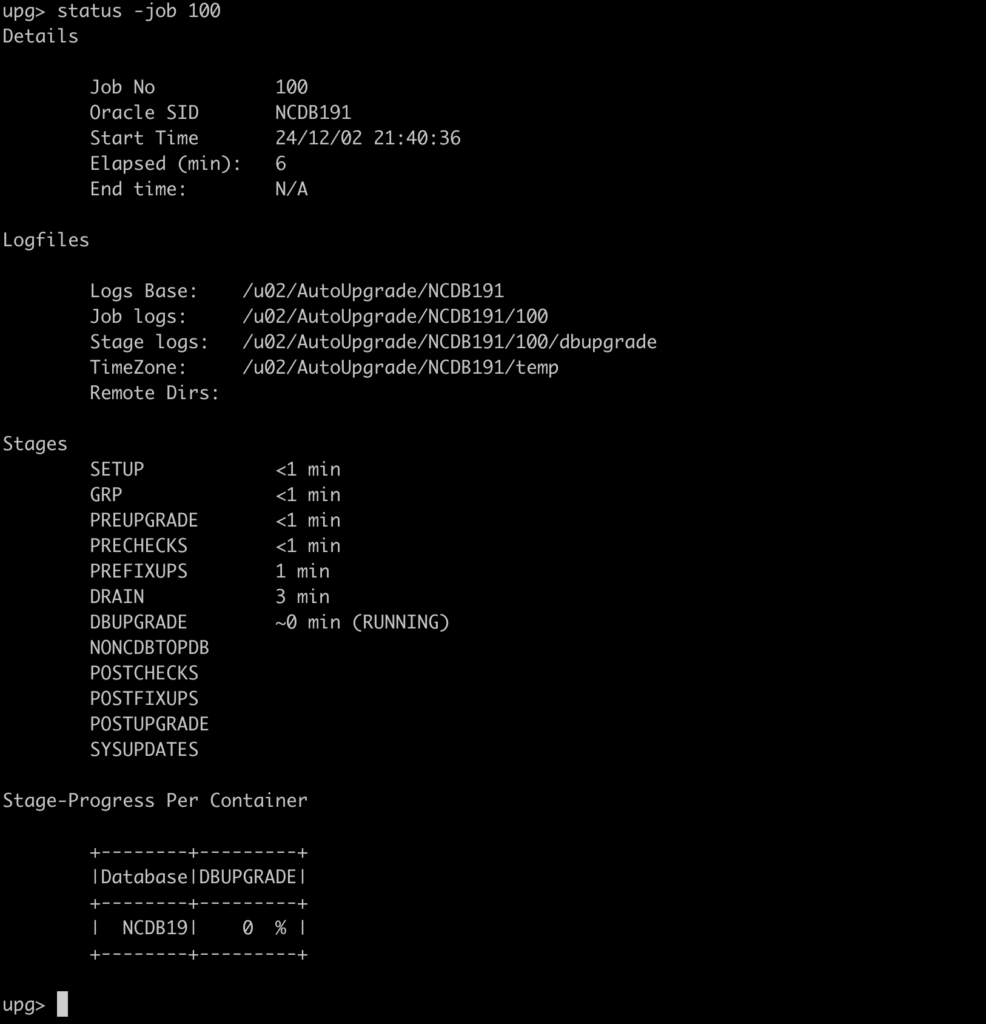


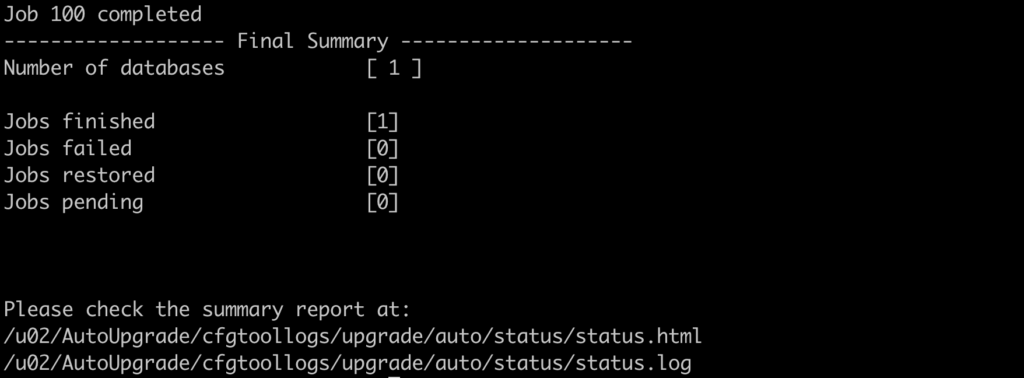
As you can see below, the migration from 19c non-cdb to 23ai was a success:
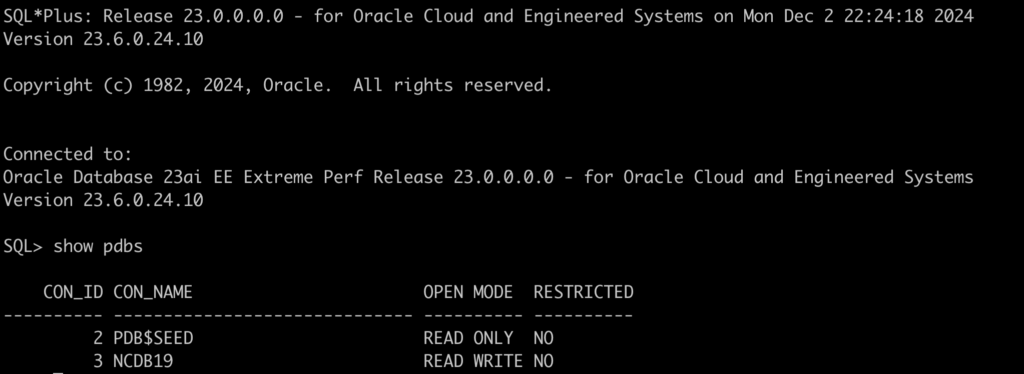
We have now the NCDB19 plugged in and running on the 23ai CDB:
Will the console recognize the new PDB?
And the answer is: Yes
It took a few hours, but it’s there now:

Stay tuned for the next post.
Links to the Complete Blog Post Series on AutoUpgrade for ExaDB-D/ExaC@C:
Amazing and thankyou