In case you missed the previous posts:
- Part 1 – Refreshable Clone PDBs
- Part 2 – Non-CDB 19c to 23ai or 26ai PDB
- Part 3 – 19c PDB to 23ai or 26ai
- Part 4 – Fallback options
In Part 3, I covered the process of performing a traditional upgrade from a 19c PDB to 23ai or 26ai.
Now, I’ll demonstrate how to fallback from 26ai or 23ai to 19c using AutoUpgrade with target_pdb_copy_option.
The only caveat with this technique is that it requires additional space to duplicate your PDB.
Let’s create an AutoUpgrade config file adding the parameter target_pdb_copy_option:
global.autoupg_log_dir=/u02/AutoUpgrade
global.keystore=/u02/keystore
upg1.source_home=/u02/app/oracle/product/19.0.0.0/dbhome_1
upg1.target_home=/u02/app/oracle/product/23.0.0.0/dbhome_1
upg1.sid=DB19c1
upg1.pdbs=PDBAZ
upg1.target_cdb=DB23ai1
upg1.target_pdb_copy_option=file_name_convert=NONE
file_name_convert=none means that the data files are copied and new OMF names are generated.
Let’s load the TDE encryption password for both databases:
java -jar autoupgrade.jar -config DB19c1.cfg -load_password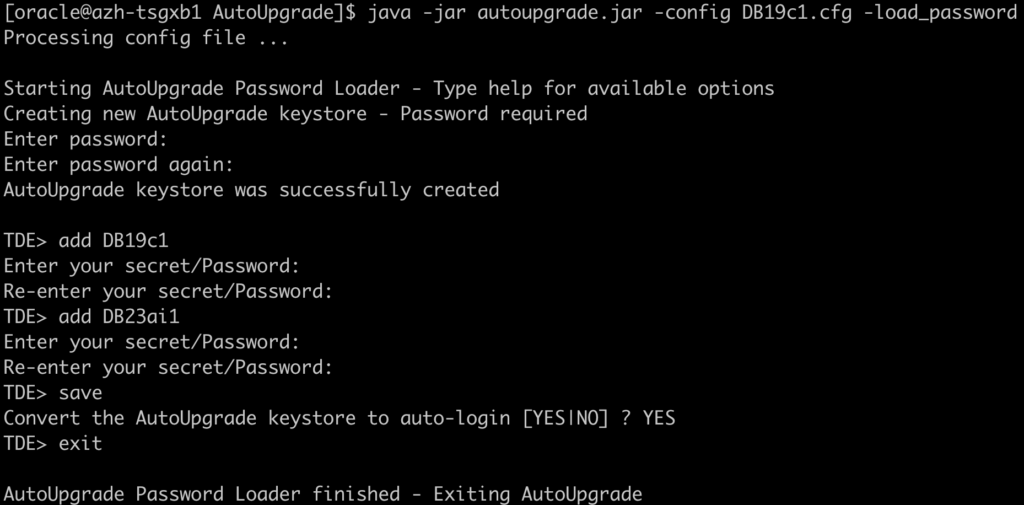
Let’s run the Analyze mode:
java -jar autoupgrade.jar -config DB19c1.cfg -mode analyze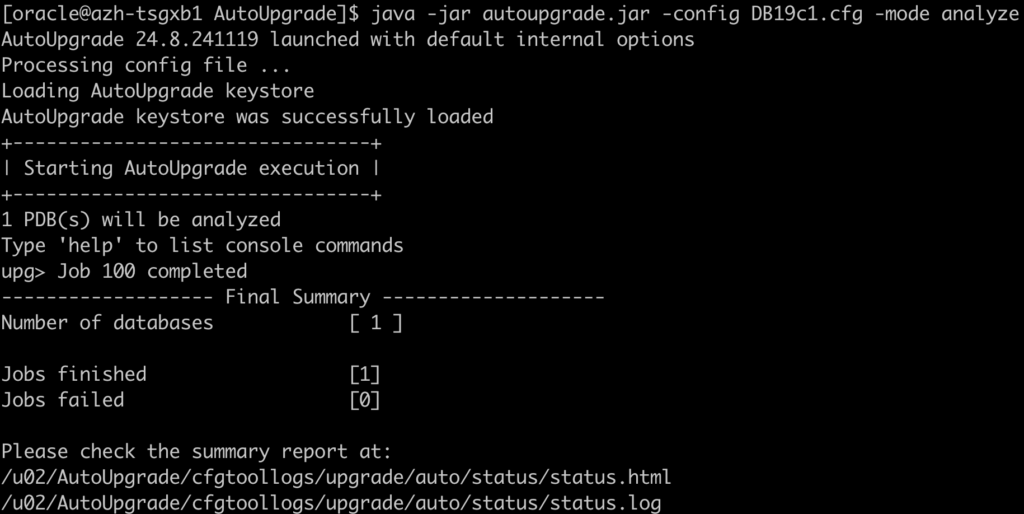
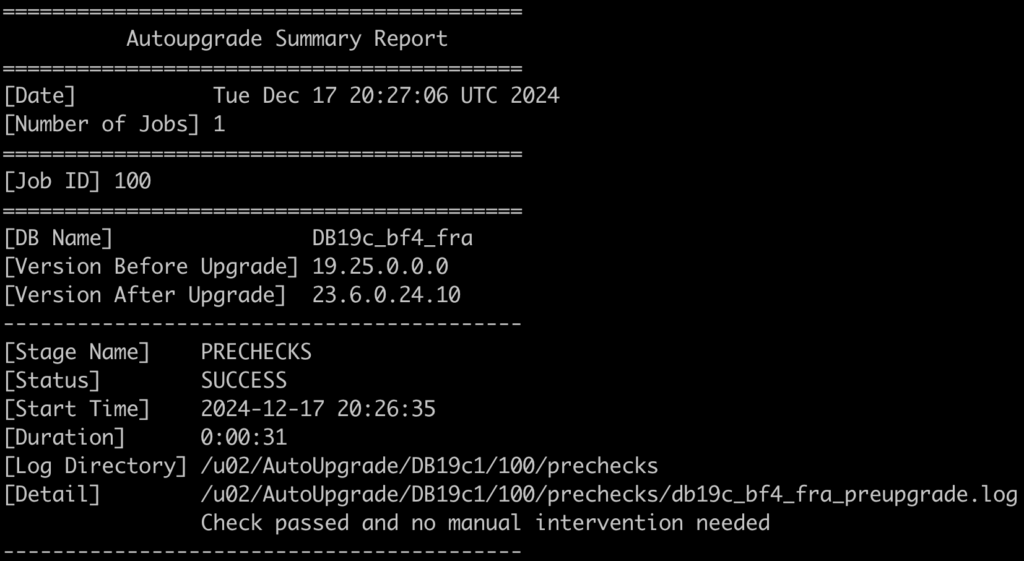
As demonstrated, no manual steps are required for this test:
Let’s run the Deploy mode to start the migration:
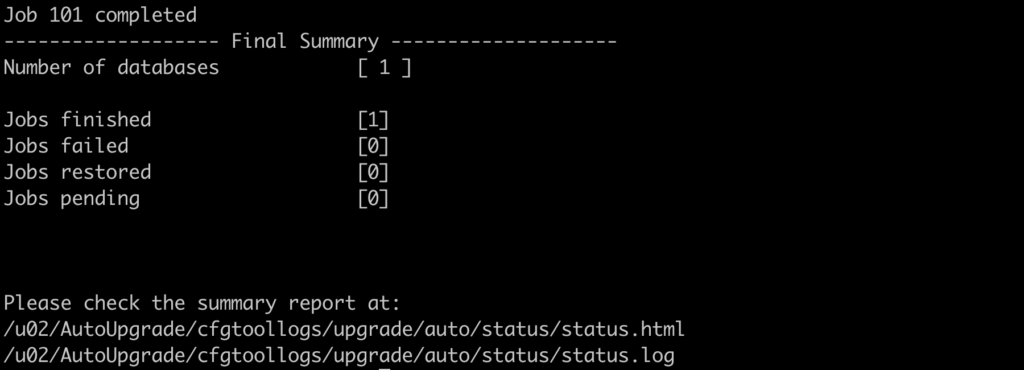
java -jar autoupgrade.jar -config DB19c1.cfg -mode deploy
As shown below, the migration from 19c to 23ai was successful:
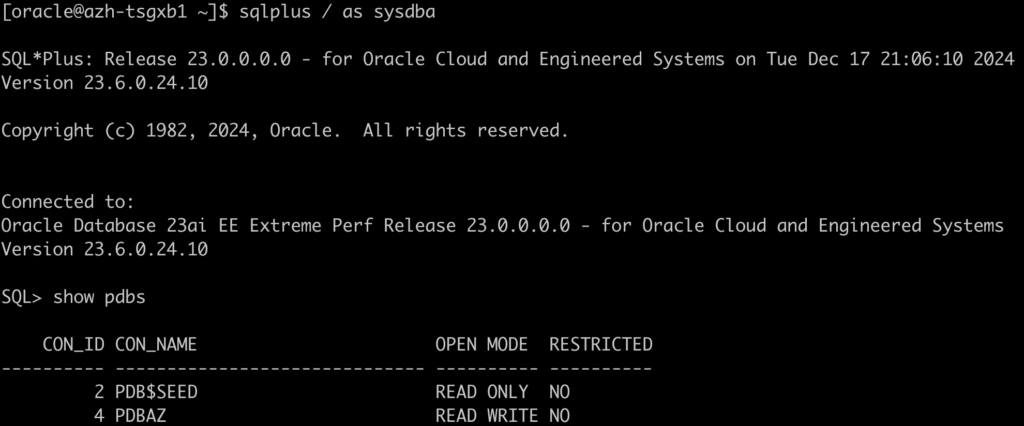
The PDB PDBAZ is now plugged into the 23ai CDB:
Fallback
If you encounter issues while testing the upgrade and need to revert to 19c, it will be straightforward since the original datafiles remain intact (target_pdb_copy_option).
Remember, if you make any changes to the data during testing, you will need to use OGG or Data Pump to sync it back to 19c.
java -jar autoupgrade.jar -config DB19c1.cfg -restore -jobs 101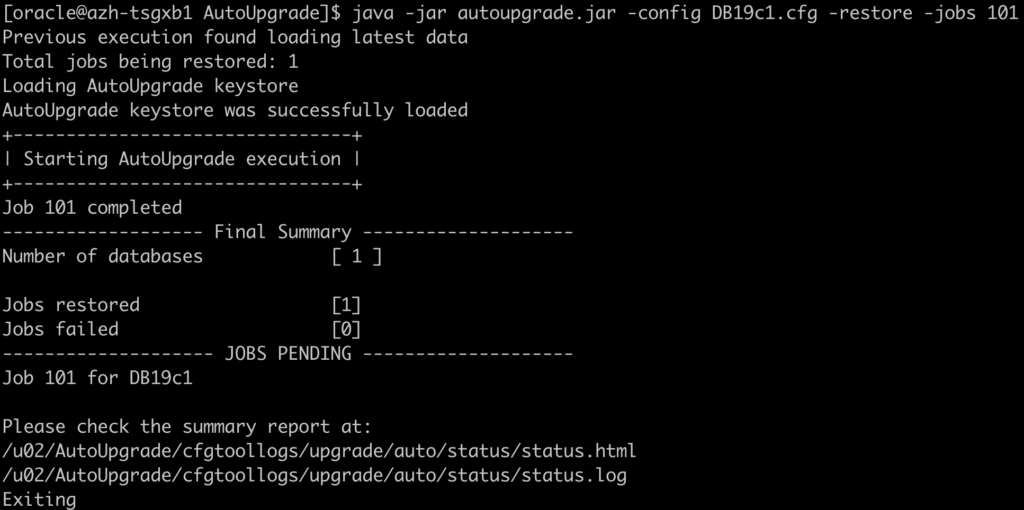
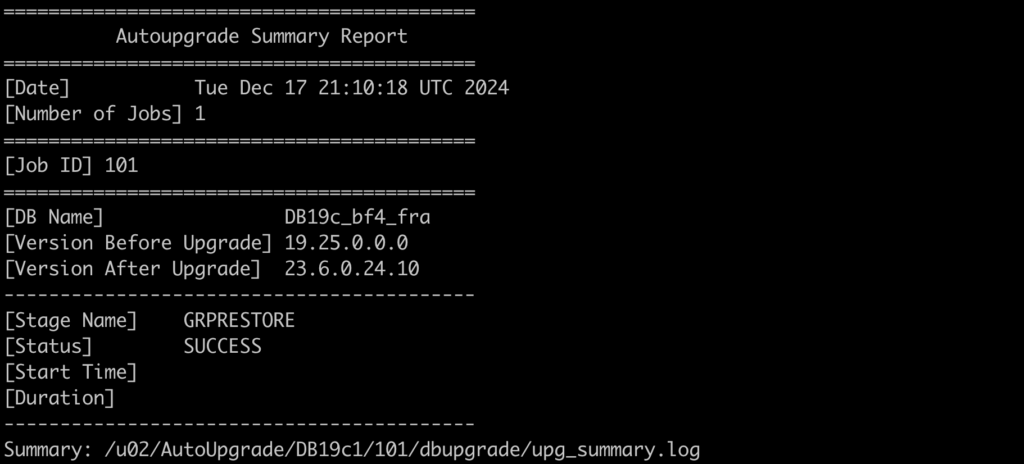
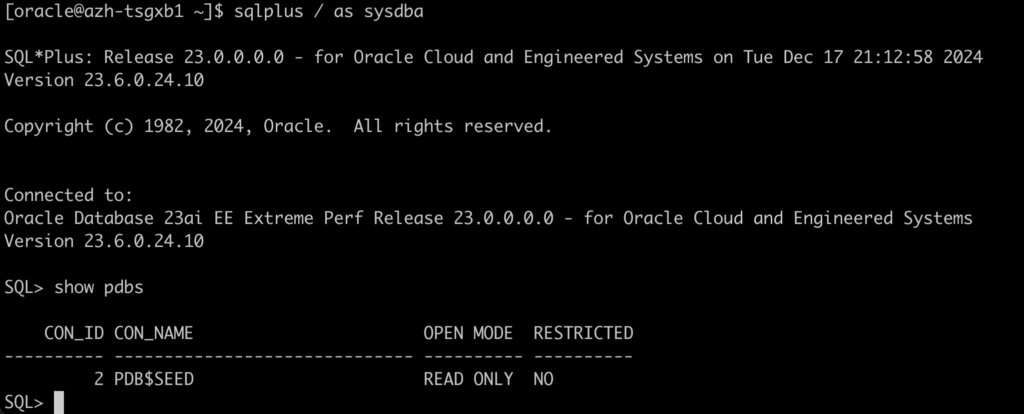
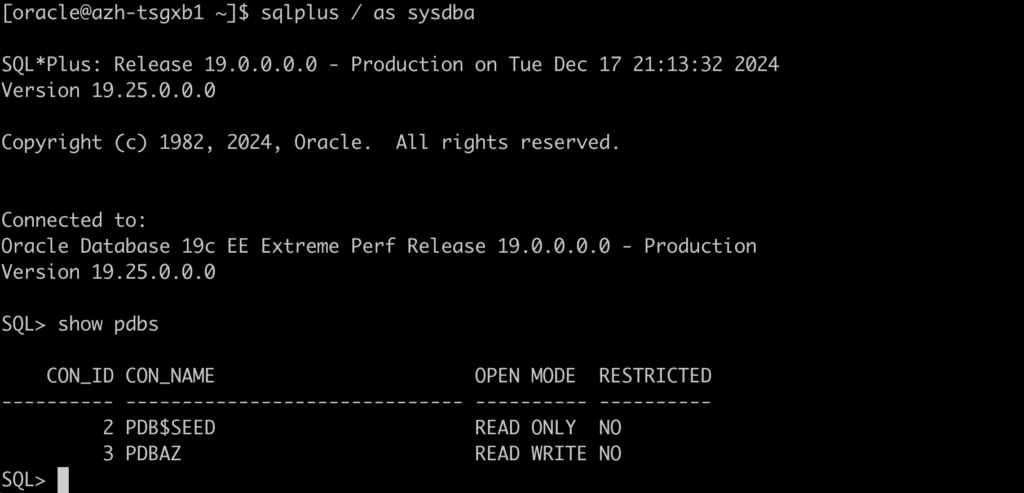
The restore was successful, and the PDB is now back in the 19c database.:
Stay tuned for the next post.
Links to the Complete Blog Post Series on AutoUpgrade for ExaDB-D/ExaC@C:
